|
YUYAO ERM RUBBER & PLASTIC CO., LTD.
|
Gold Index: 34713
You are here: home > Products Description > Rubber pipe roof flashing
Product (519)
-
laboratory Products
(69)
- Ptfe siliconce septa (69)
-
Automotive seal
(391)
- oil seal (391)
- PTFE molded machine (12)
-
Molded rubber products
(19)
- rubber gasket (19)
- Others (28)
News (2)
ERM CATALOGUE (4)
Factory Photos (3)
Products Description (7)
Company information (5)
Technological (4)
Foreign branch (1)
Credit Report
Products Index
Products Description
Rubber pipe roof flashing

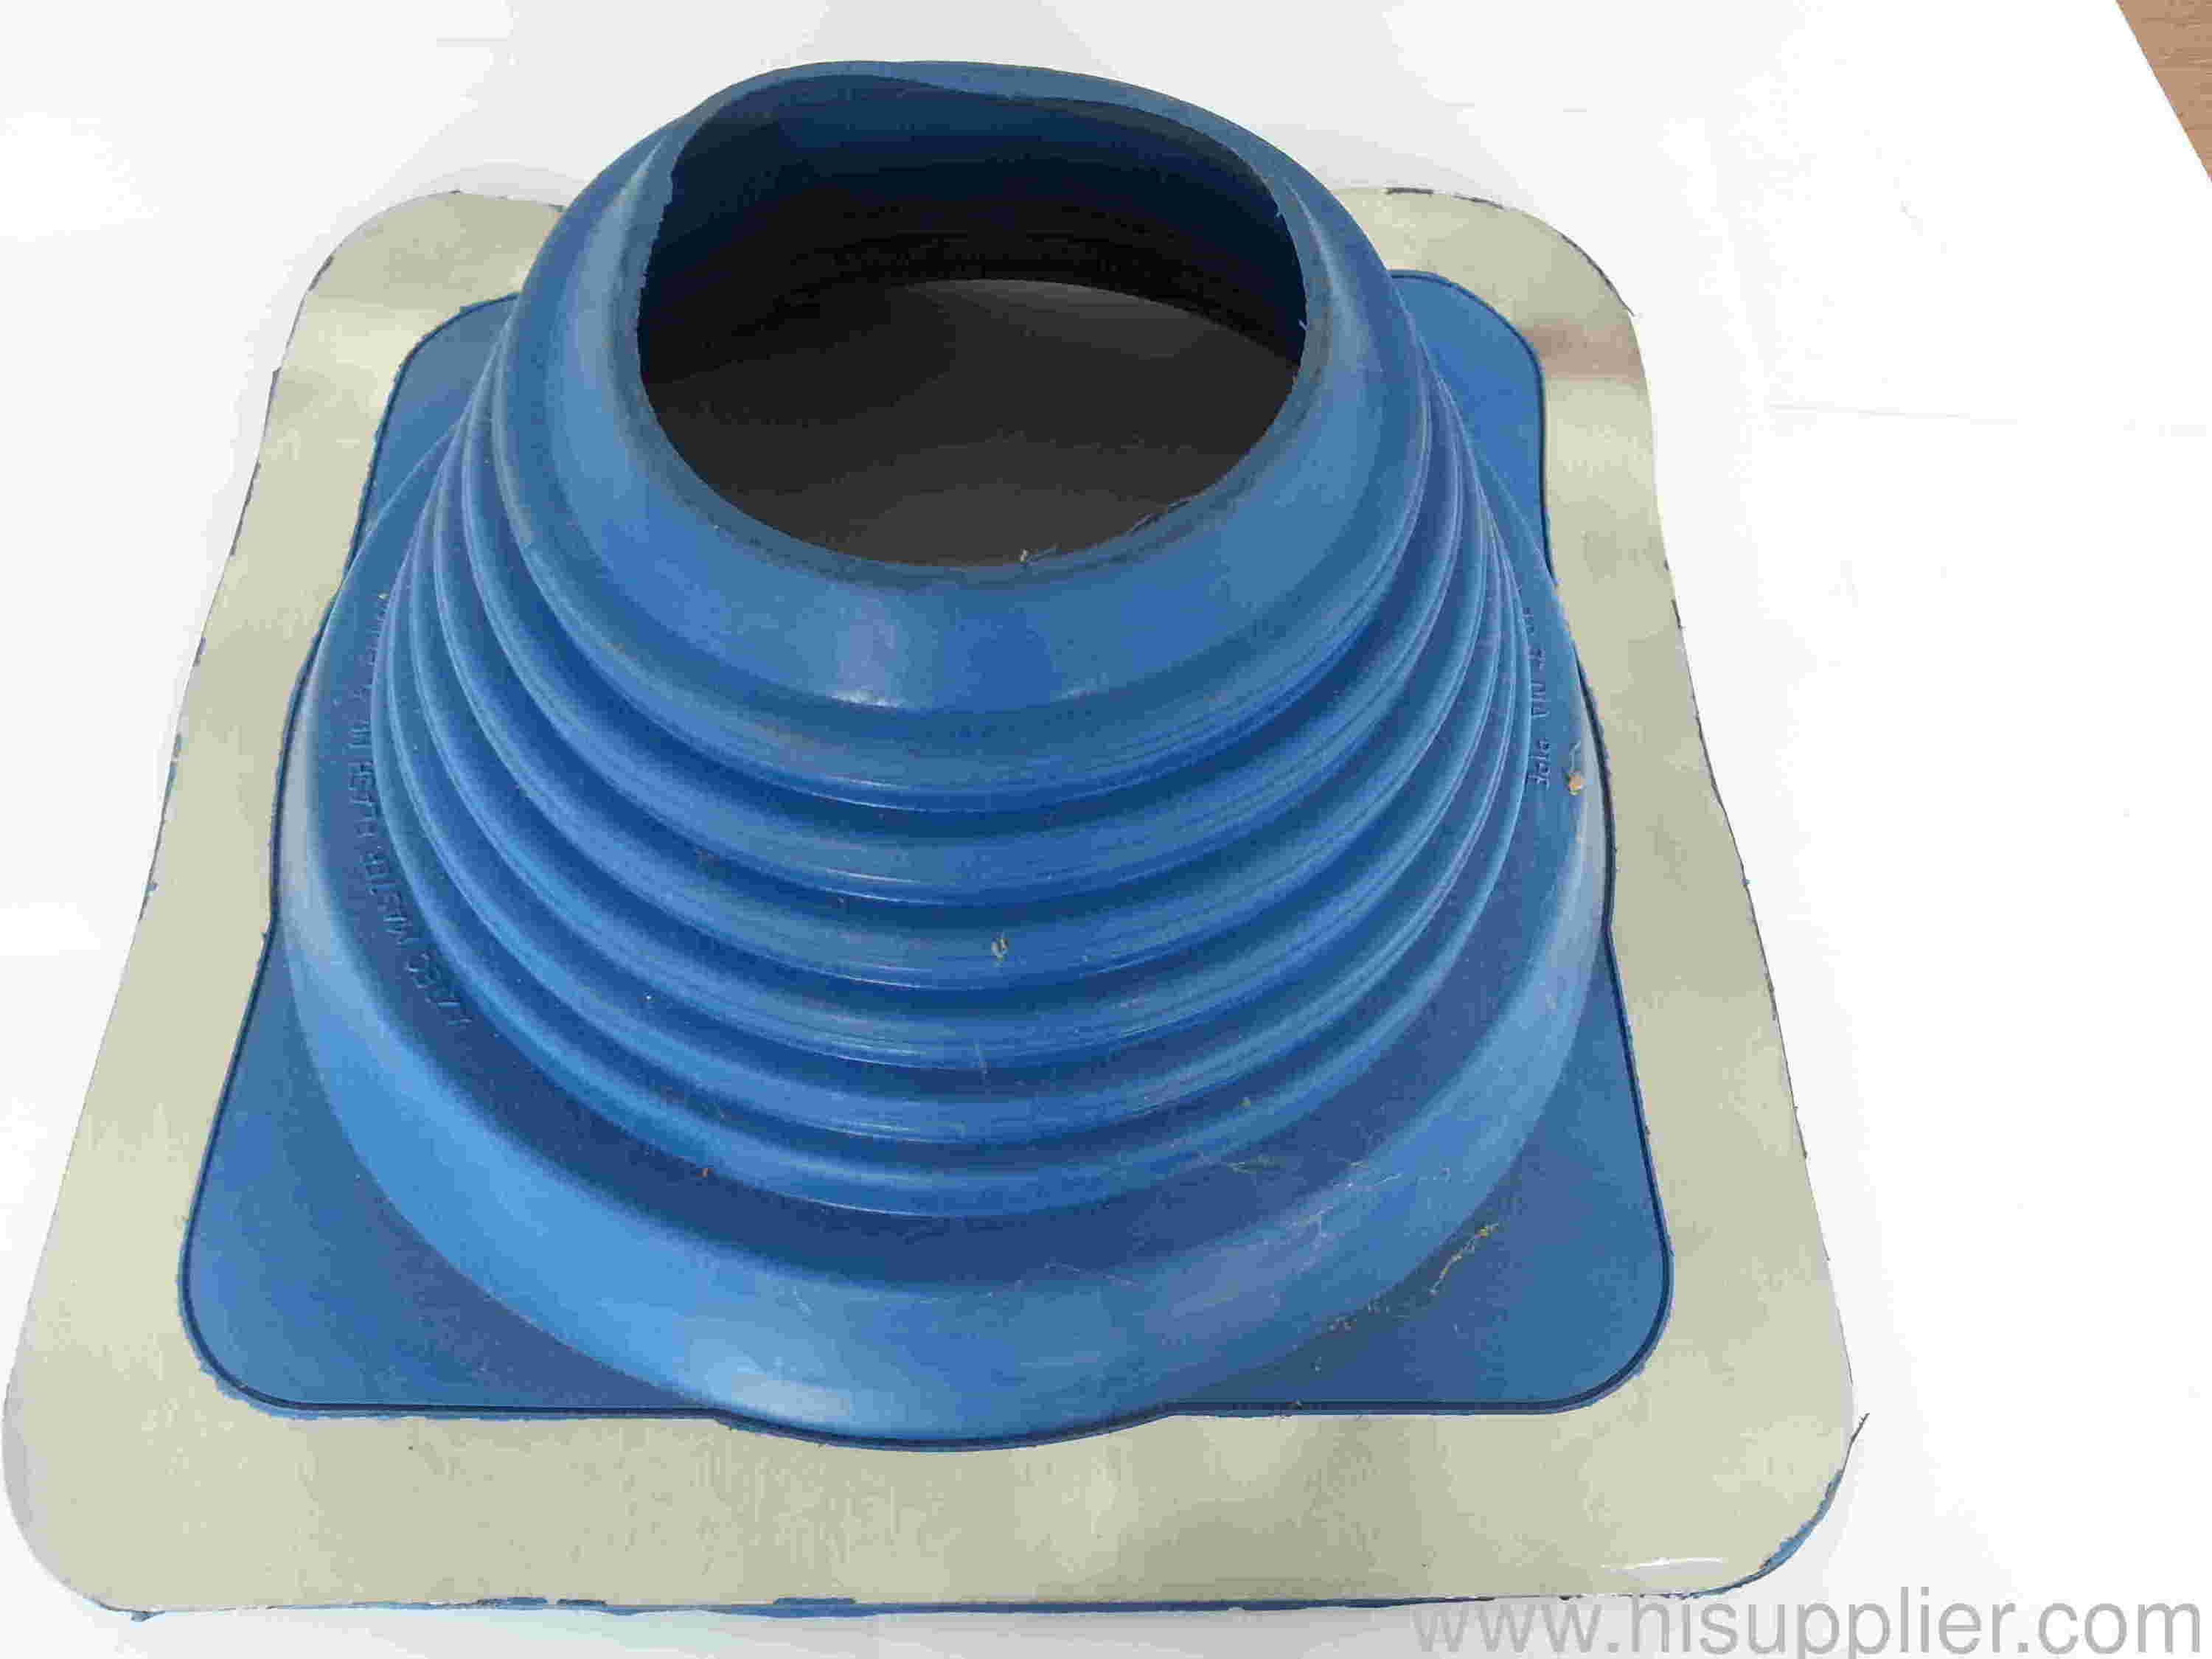
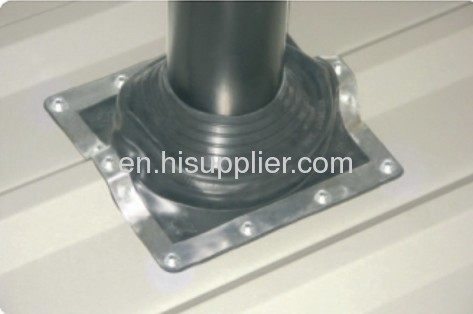
Rubber pipe roof flashing is used on roof or other outside area, for vent, chimney, electric appliance, solar appliance or other pipe and wire to prevent rain,snow,dust,ect. It should be waterproof UV-proof and durable,Our rubber pipe boot is ultra durable, they can be in use for more than 20 years, we have many types and sizes with aluminum base to meet the different application requirements, they are suit for pipe diameter 1" to 30",and they mainly made from silicone and EPDM,both of them are good at UV and weather resistance, and the temperature resistance for EPDM flashing is from -50 to 150,the silicone flashings have more high temperature resistance.
Rubber roofs are becoming a popular choice among roofing materials. They are durable, low maintenance, energy efficient and environmentally friendly. Made from recycled materials, such as tires, rubber roofs require less upkeep compared to wooden shingles. They come in two types: whole rubber roofs and rubber roof shingles. Whole rubber roofs are prone to tears and cuts during installations due to their size and weight. Rubber roof shingles are easier to handle, similar to that of installing asphalt or wooden shingle
How to install roof flashing
1)
The flashing should have a hole in it that is pre-cut according to the diameter of the pipe. If this is not the case, you can cut it yourself, but it is advised to have it cut when you buy it. Aluminum flashing is easier to cut so it will not take much time, however, you should be careful not to wound yourself. The hole in the flashing will be a bit smaller than the pipe diameter to prevent any leaks due to the space between the pipe and the flashing. Aluminum's malleability will come in handy here too. Make sure you are wearing gloves at all times during the whole flashing process.
2)Slide the flashing over the pipe making sure that the flashing is closely sitting on the surface of the roof. As the hole in the flashing is slightly smaller than the pipe, you will be able to have a close fit around the pipe.
3)Using your hammer, nail each side of the flashing to the roof so that it is securely fitted. Nails should always be of the same material as the flashing in order to avoid any reactions with opposing metals. Now, apply the quick dry epoxy, or any reliable sealant, to the nails. Cover them completely so the nail holes do not become passages for water seepage.
4)Slide the rain collar over the pipe and close to the flashing. Then, twist the screw to fasten the collar in place over the flashing. This will add a level of protection to your roof and give your flashing a longer life.


Pre Page:
Drum packing gasket
Next Page:
Oil seal


